When I started playing Minecraft, I did not know much about Minecraft server hosting. I used to use websites like Aternos to play with my friends, in which I used to host Minecraft servers, but recently I came to know about a hosting in which we can create Minecraft servers for free and play with our friends and this is what I am going to tell you today.
Play.Hosting lets you create a server in just a few minutes. You don’t need to be a tech expert to get started, which was a big relief for me. Whether you want a server for a small group of friends or a bigger community, Play.Hosting has you covered. Plus, it’s designed to work smoothly, so your game doesn’t lag. In this article, I’ll walk you through everything I learned about using Play.Hosting, from setting up your server to customizing it with mods and plugins. I’ll also share tips to make your server awesome and keep it running smoothly.
Watch Video
What Makes Play.Hosting the Best?
Let me tell you why I think Play.Hosting is the best free Minecraft server hosting out there. First, it’s completely free forever—no hidden costs or surprise fees. Second, it’s super fast and reliable, so your server stays online without crashing. Third, it supports tons of plugins and modpacks, which means you can make your server exactly how you want it. Finally, the Play.Hosting website is easy to navigate, and their support team is there to help if you get stuck. I’ve tried other free hosting services, but none of them come close to Play.Hosting’s quality and ease of use.
Here’s a quick table to show why Play.Hosting is awesome compared to other free hosting options:
| Feature | Play.Hosting | Other Free Hosts |
|---|---|---|
| Cost | 100% Free Forever | Often have hidden fees or limited trials |
| Setup Time | A few minutes | Can take hours or be complicated |
| Plugins/Modpacks | Huge library supported | Limited or no support |
| Uptime | Reliable, stays online | Frequent crashes or downtime |
| Ease of Use | Simple for beginners | Confusing dashboards |
| Support | Helpful team available | Little to no support |
Signing Up for Play.Hosting
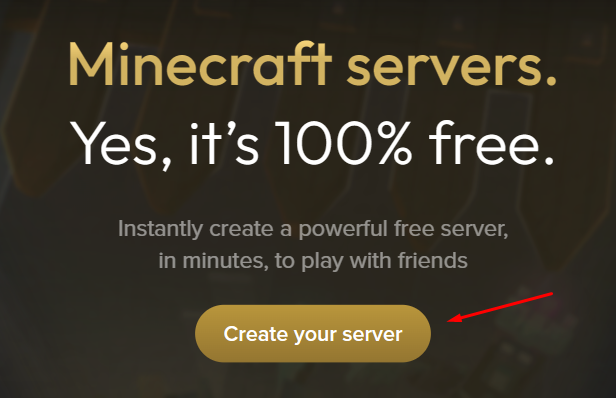
The first thing I did to start my Minecraft server was sign up on Play.Hosting’s website. It’s super easy, and I’ll explain it in detail so you can do it too. Head over to https://play.hosting/ and look for the “Create your Server” button. You’ll need to enter a few details like your email address, a username, and a password. Make sure your password is strong but something you can remember—I used a mix of letters and numbers to keep it safe.
Once you fill in the form, Play.Hosting sends you a confirmation email. I checked my inbox, clicked the link in the email, and my account was ready to go. The whole process took me less than five minutes, which was awesome because I was excited to start my server. If you don’t see the email, check your spam folder just in case. After confirming, you can log in to your Play.Hosting account and start creating your server
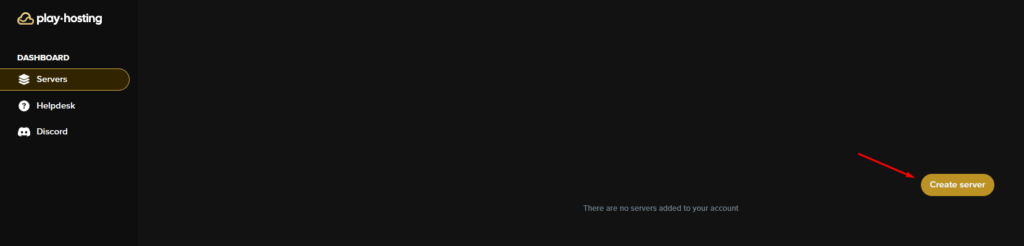
Creating Your Free Minecraft Server
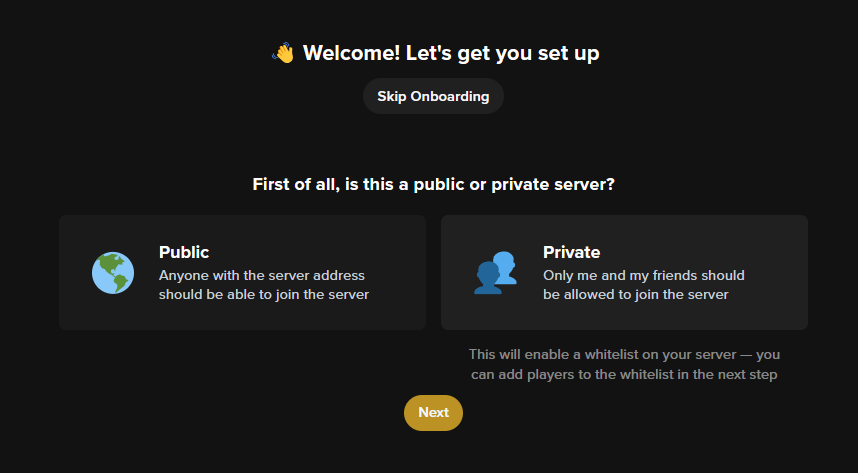
After signing up, the next step was creating my server, and let me tell you, it was so much fun! When you log into your Play.Hosting account, you’ll see a dashboard with a button that says “Create Server.” I clicked it, and the website asked me to pick a server type.

What impressed me was how Play.Hosting handles everything for you. You don’t need to mess with complicated settings or tech stuff. The server comes with enough power to handle a small group of players, which was perfect for me and my friends. If you want to invite more people later, you can upgrade, but the free plan was more than enough to get started. This step made me feel like a pro, even though I was new to hosting!
Joining Your Server in Minecraft
Now that my server was created, I was ready to jump into Minecraft and start playing. This step was exciting because I could finally see my server in action. To join your server, open Minecraft on your computer and make sure you’re using the Java Edition, since Play.Hosting works best with it. I clicked on “Multiplayer” in the Minecraft menu, then “Add Server.”
If you run into any trouble, like the server not showing up, double-check the IP address. I made a typo once and had to fix it. Also, make sure your Minecraft version matches the server’s version—Play.Hosting lets you pick the version when you set up the server, so it’s easy to match. This step was so rewarding because I went from signing up to playing in less than 15 minutes. My friends joined too, and we started building right away. Play.Hosting made it so simple!
Customizing Your Server with Plugins and Modpacks
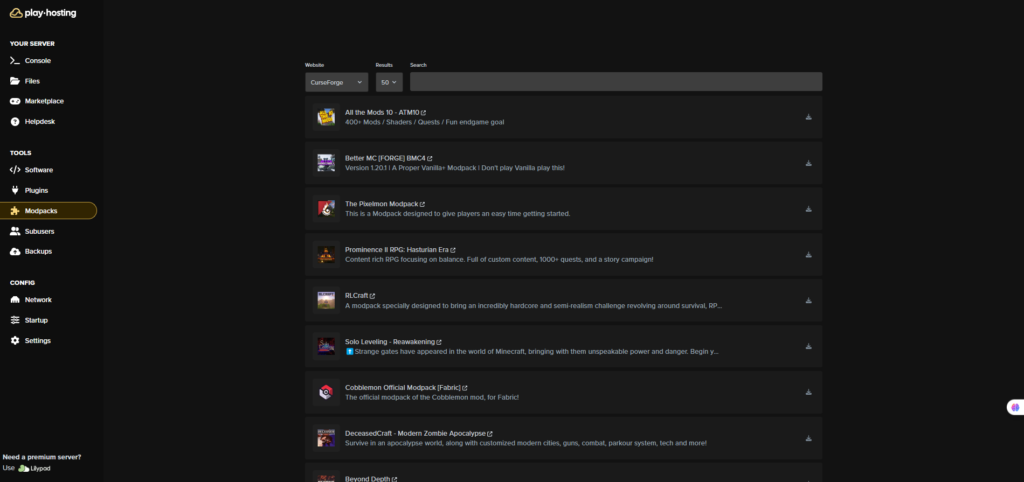
In the Play.Hosting dashboard, there’s a section for managing your server. I clicked on “Plugins” and saw a list of popular ones like EssentialsX, which adds useful commands, and WorldEdit, which helps you build faster. To add a plugin, I just clicked “Install,” and Play.Hosting took care of everything. For modpacks, I went to the “Modpacks” section and picked one like Pixelmon, which adds Pokémon to Minecraft. It was so easy to install—just a few clicks, and my server was transformed.
Manage Your Server Like a Pro
First, I set up a whitelist to control who could join. In the dashboard, I found the “Whitelist” option and added my friends’ Minecraft usernames. This made sure only people I trusted could play, which kept things safe. Next, I tweaked the server settings, like turning on “Survival” mode and setting the difficulty to “Normal.” Play.Hosting’s dashboard has sliders and buttons for these settings, so I didn’t need to dig through complicated files.
Why Play.Hosting is Perfect for Beginners
As someone who was new to hosting, I can say Play.Hosting is perfect for beginners. The website is easy to use, and every step is explained clearly. I didn’t need any tech skills to set up my server, which was a huge relief. Play.Hosting also offers tons of features for free, so you can try everything without worrying about costs. Whether you’re in 6th grade or older, you’ll find Play.Hosting simple and fun.
Summary
Play.Hosting has been a game-changer for me and my friends. It’s the best free Minecraft server hosting because it’s easy, reliable, and packed with features. From signing up to inviting friends, every step was simple, and I loved customizing my server with plugins and modpacks. I hope my experience helps you get started with your own server. Head to https://play.hosting/ and create your server today—it’s free, and you’ll have a blast!
Also Read: