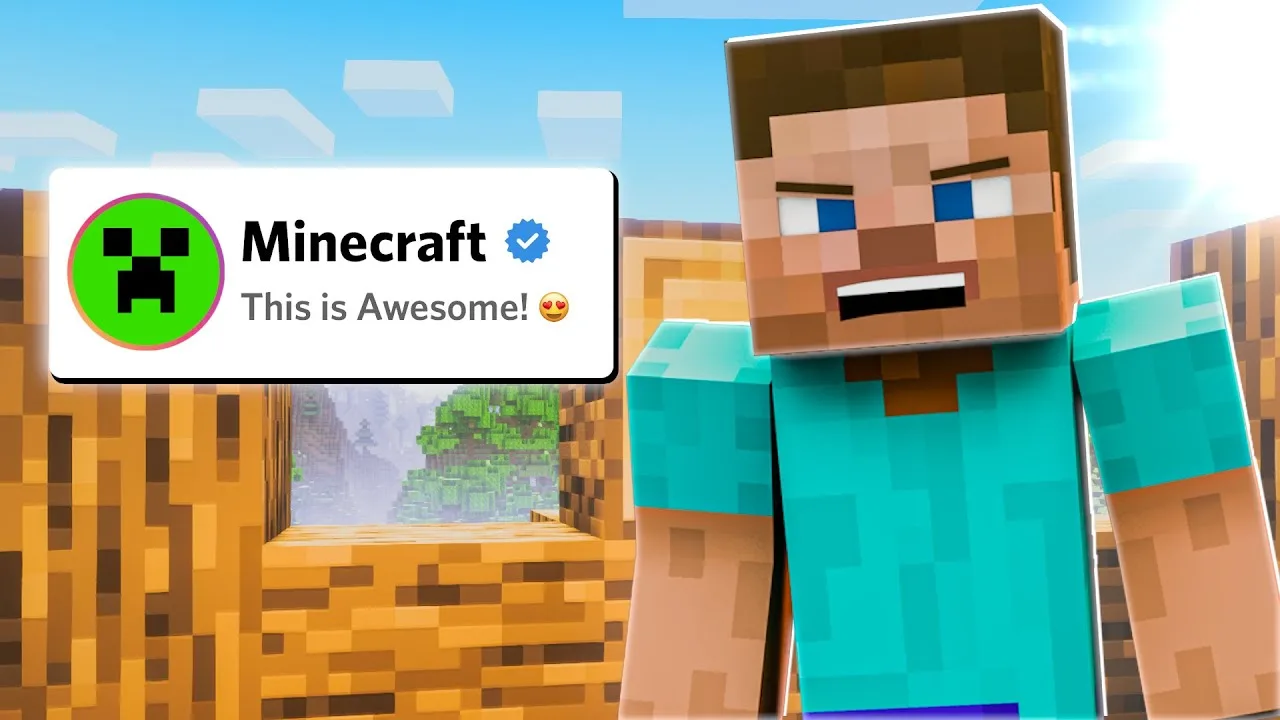
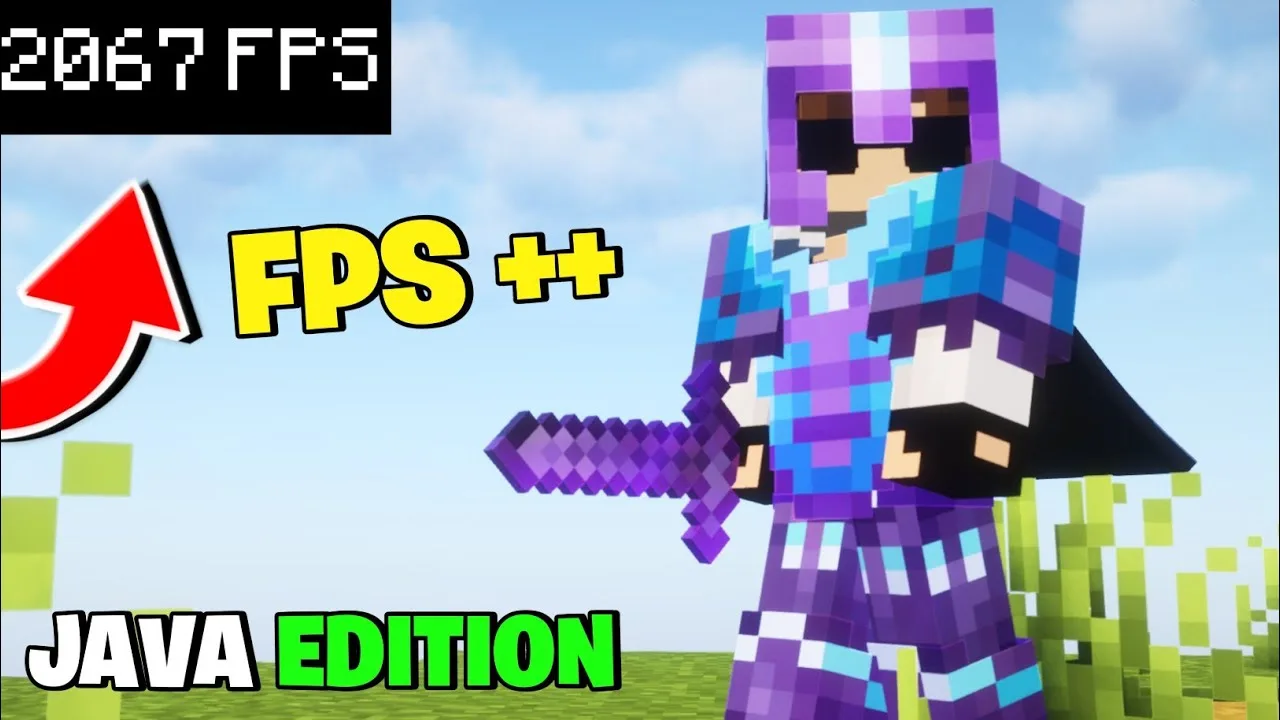
I Recreated The Minecraft “Movie Trailer”

Minecraft is one of the most popular games ever made. It allows players to build, explore, and create whatever they can imagine in a world full of blocks. The game has a huge fan base and has inspired many creative projects. One such project is the recreation of a Minecraft movie trailer, which aimed to improve on an original concept by Warner Bros.
In this article, we will explore how one creator decided to recreate the Minecraft movie trailer using only in-game elements. We’ll talk about the idea behind this project, the use of addons and shaders to enhance visuals, the challenges faced due to high render settings, and how this project created a cinematic experience. Let’s dive into the journey of making a Minecraft trailer that shows off the game’s beauty and engages the audience.
Why Recreate a Minecraft Movie Trailer?
The original idea for a Minecraft movie was first introduced by Warner Bros. When they shared their concept, some fans felt that it could be even better. This inspired a dedicated Minecraft fan to try their own version of the movie trailer, using only the game’s features. The main goal was to show that you don’t need fancy external animations to make Minecraft look beautiful. The creator aimed to use in-game elements and Minecraft addons to improve the visuals and create a stunning trailer.
The idea was simple but powerful: let the game speak for itself. By using just the in-game blocks and mechanics, the creator wanted to bring out the best of Minecraft’s visual charm and demonstrate what’s possible without a big studio budget.
What Mods and Shaders Were Used to Improve Visuals?
One of the biggest challenges when making a Minecraft trailer is making the game look more realistic while staying true to its blocky style. To do this, the creator used various addons and shaders. Mods are small programs made by fans that can change or add features to the game. Shaders are special addons that can change the way light, shadows, and colors appear in Minecraft.
1. Key Mods for Better Visuals
Some popular addons used for this project include:
- OptiFine: OptiFine is a popular addon for improving Minecraft’s graphics. It adds features like dynamic lighting, smoother performance, and support for high-quality shaders. You can check out more about OptiFine here.
- Replay Mod: This addon is widely used by players who want to create cinematic videos. It allows players to record their gameplay from multiple angles and then edit the camera movements afterward. This helps in capturing scenes smoothly and gives more freedom to creators to experiment with different angles.
- Better Foliage: This addon improves the look of trees, grass, and leaves, making them look fuller and more natural. It’s great for adding more depth to outdoor scenes in the trailer.
2. Adding Realism with Shaders
Using shaders in Minecraft can dramatically change the way the game looks. For this project, the creator used some of the most popular shaders:
- Sildur’s Vibrant Shaders: This shader pack is known for its bright and lively visuals. It adds realistic shadows, water reflections, and lighting effects. You can find Sildur’s Shaders here.
- SEUS (Sonic Ether’s Unbelievable Shaders): SEUS is a highly popular shader pack that adds beautiful lighting effects to Minecraft. It includes realistic shadows, sun rays, and reflective water surfaces, which all add to a cinematic look. You can explore SEUS shaders here.
Challenge of High Render Settings
While creating this Minecraft movie trailer, one of the big hurdles was using high render settings. Render settings affect how far and how detailed you can see in the game. Increasing these settings can make the game look much better, but it can also slow down the computer or cause the game to crash.
Balancing Performance and Quality
To get the desired visuals, the creator had to find the right balance between performance and quality. High render distances and shaders can put a lot of strain on a computer’s hardware. This project required a powerful gaming PC and a lot of experimentation to find the perfect settings.
For anyone wanting to try this themselves, it’s recommended to start with lower settings and gradually increase them to see what your computer can handle.
Creating Cinematic
Making a movie trailer isn’t just about using the right addons and shaders; it’s also about creating a story. The creator wanted to build a cinematic experience that could immerse viewers. Here’s how they achieved this:
1. Visual Storytelling with Minecraft Blocks
Visual storytelling is when you use images and scenes to tell a story instead of relying on words. The creator built scenes in Minecraft that looked dramatic and exciting, capturing the essence of a real movie trailer. They used Minecraft’s simple blocks to create landscapes, buildings, and structures that told a story on their own.
2. Sound and Music
Sound is an important part of any movie trailer. The creator chose music and in-game sound effects that matched the visuals. This helped build the mood and atmosphere of each scene. By carefully syncing the sound with the visuals, the creator made the trailer more engaging.
If you’re looking for high-quality, royalty-free music for your videos, sites like Epidemic Sound or AudioJungle offer a wide range of choices.
Audience Feedback Matters
Another key element of this project was encouraging audience engagement. The creator wanted to hear what viewers thought of the trailer. Audience feedback is valuable because it helps creators understand what works and what doesn’t. It also helps build a connection between the creator and the viewers.
After releasing the trailer, the creator invited viewers to leave comments and share their thoughts. This feedback helps the creator improve future projects and allows the community to feel involved.
How You Can Create Your Own Cinematic Minecraft Trailer
If you’re feeling inspired and want to create your own cinematic Minecraft video, here are some simple steps to help you get started:
- Choose a Theme or Concept: Think about the story you want to tell. It could be an adventure, a mystery, or even a recreation of a favorite movie scene.
- Plan Your Shots: Sketch out your ideas for each scene. This will make it easier when it’s time to record.
- Install the Right Mods and Shaders: Use addons like OptiFine and shaders like Sildur’s Shaders to improve your visuals. If you’re new to installing addons, there are plenty of guides available online to help you get started.
- Experiment with Camera Angles: The Replay Mod is great for capturing different angles. Play around with camera movements to find the perfect shot.
- Edit Your Footage: Use video editing software like Adobe Premiere Pro or DaVinci Resolve to put your video together. Pay attention to transitions, music, and pacing to create a smooth and cohesive trailer.
Modpack Used in Spunky’s Video – Trailer Modpack 1.21.1 Fabric


Very nice thank you so much and continue